In the days when Windows XP existed as a system, changing the icon to the specific type of file was easy. However, in Windows 11, it became more difficult, however, it’s not impossible.
This is why it is that we will teach you how to alter the icon for executable files and modify it to suit your needs.
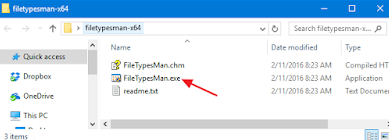
One of the first things you need to do is download the copy from File Types Management. It can be used in virtually any version of Windows When it is downloaded it is time to unzip the file and double-click on “FileTypesMan.exe“.
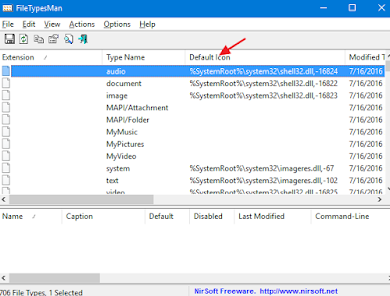
Simply click “Default Icon” to sort the list. This will group all extensions of files that use the identical icon. This is useful when you need to switch several related file types that share similar icons.
For saving an offset we’ll make use of the search function, and we will be able to locate the file type we’re searching for. Select to the “Search” button located on the toolbar (or press Ctrl + F). Within the “Search” window , type in the extension of the type of file you’d like to change and then click “Find next” button until you find the extension you’re looking for. Then, select “Cancel” to close the “Search” window.
Right-click on the extension’s icon you would like to change and choose “Edit selected file type“.
When you are in the “Edit File Type” window, click on the “…” button that is to the left of the Default Icon Text field.
Change Icon window displays a few basic icons. However, you only need to click “Browse” button to find your personal icon files. This File Type Manager allows you to choose EXE DLL, EXE, or ICO files.
Choose the icon you wish to use from the drop-down menu and then select ” OK .”