Windows 11 is arrived, and an enthusiastic Windows user will immediately appreciate the style and overall design of the Windows shell experience. Everything is centered and, despite its simple style, attracts the user.
Designers and app developers are extending the personalization capabilities of Windows 11’s fundamental design, and one of the most recent releases is the ‘Live Tiles Anywhere’ app. Let’s have a look at what it has to offer and how you can use ‘Live Tiles Anywhere’ on Windows 11 to build live tiles (similar to those found on Windows 10) and widgets.
What is ‘Live Tiles Anywhere’ app?
The majority of us recall ‘Live Tiles’ as the ill-fated Windows 10 Start Menu feature. Therefore, it’s natural that Microsoft did not include it in Windows 11. However, the concept of Live Tiles was not entirely illogical.
Live Tiles were square-shaped tiles that displayed notifications from apps in the form of a picture or a number. Additionally, they cycled at times and included links to launch programs. However, their application (no pun intended) was never quite right, and they frequently remained confined to the Start Menu.
However, one developer has built a modified version of it called Live Tiles Anywhere, which can be used anywhere, including the Start Menu and as desktop widgets. Let’s have a look at ‘Live Tiles Anywhere’ in action and how they may be created on Windows 11.
How to install Live Tiles Anywhere on Windows 11
Live Tiles Anywhere is accessible as a Microsoft Store application.
On the Microsoft Store, download Live Tiles Anywhere.
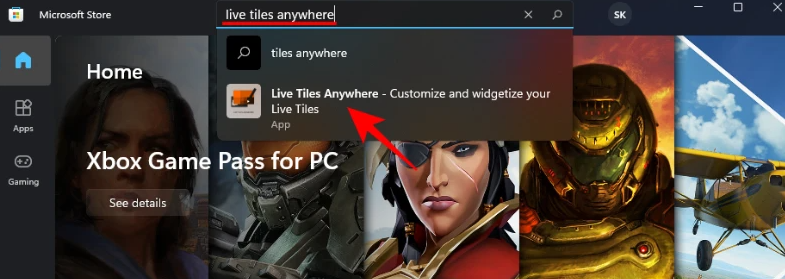
To download Live Tiles Anywhere from your browser, click on the link above. Alternatively, press Start, type’store,’ and the Microsoft Store will appear.
Here, search for and pick Live Tiles Anywhere from the available options.
Then click on the Get button.
After downloading and installing it, click on Open.
How to add Live Tiles to anywhere in Windows 11
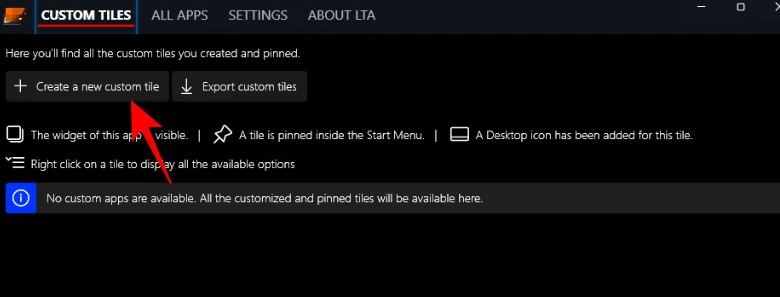
By default, when Live Tiles Anywhere starts, you will be on the ‘Custom Tiles’ tab. Click on Create a new custom tile from this menu.
This opens the Tile Editor window. To begin, in the left side, click on Element to execute.
Click on the drop-down menu here.
Then click Installed applications.
Then click on Choose an application.
Click on Save after selecting an app for your first Live Tile.
There are a few further customization options available, like background color, text color, visual picture, and visual branding.
To complete, click Save.
After that, click Save and exit.
Right-click on the tile in the ‘Custom Tiles’ tab and select Pin to Start Menu.
Select Yes when requested.
At the moment, the app is not optimized to display live tiles in the Windows 11 Start Menu, nor is it intended to replace the app’s UI components, which use small ‘badges’ as app icons. However, if you’re running Windows 10, you’ll view it as a live tile.
Additionally, you can place this tile on your desktop. To do so, right-click the tile and choose Create a desktop icon from the context menu.
How do I create a widget in Windows 11?
After creating a custom live tile, it may be used as a widget and positioned anywhere on the desktop. To do so, right-click on the live tile and choose Create a widget from the context menu.
Another, faster method of building a desktop widget is to do it without first developing a bespoke live tile. This may be accomplished by opening the ‘Live Tiles Anywhere’ app and selecting the ‘All Apps’ option. Here, search for an app, right-click on it, and choose Create a widget from the context menu.
This will place the widget straight on the desktop.
Although it has not yet been finalized, the ‘Live Tiles Anywhere’ app concept has a lot of potential. As the creator improves it, we may see a newer version released shortly.